Why brick veneer needs a considered window install
In a brick veneer wall, the inner frame carries the load and the outer brick skin keeps out the weather. The two move independently – timber and steel frames expand, contract and settle at a different rate to brickwork. A window must therefore fix to the structural frame, not to the brick veneer, so it stays square and operates smoothly for the life of the home. Get this wrong and you risk binding sashes, cracked mortar joints and water finding its way into the cavity.
Premier uPVC frames are well matched to this task. The multi-chamber profiles are light relative to their strength, dimensionally stable in Perth’s temperature swings, and they will not rot, rust or corrode in the cavity environment – a real advantage in humid coastal suburbs along the Swan Coastal Plain.
How Premier uPVC windows are fixed in cavity veneer walls
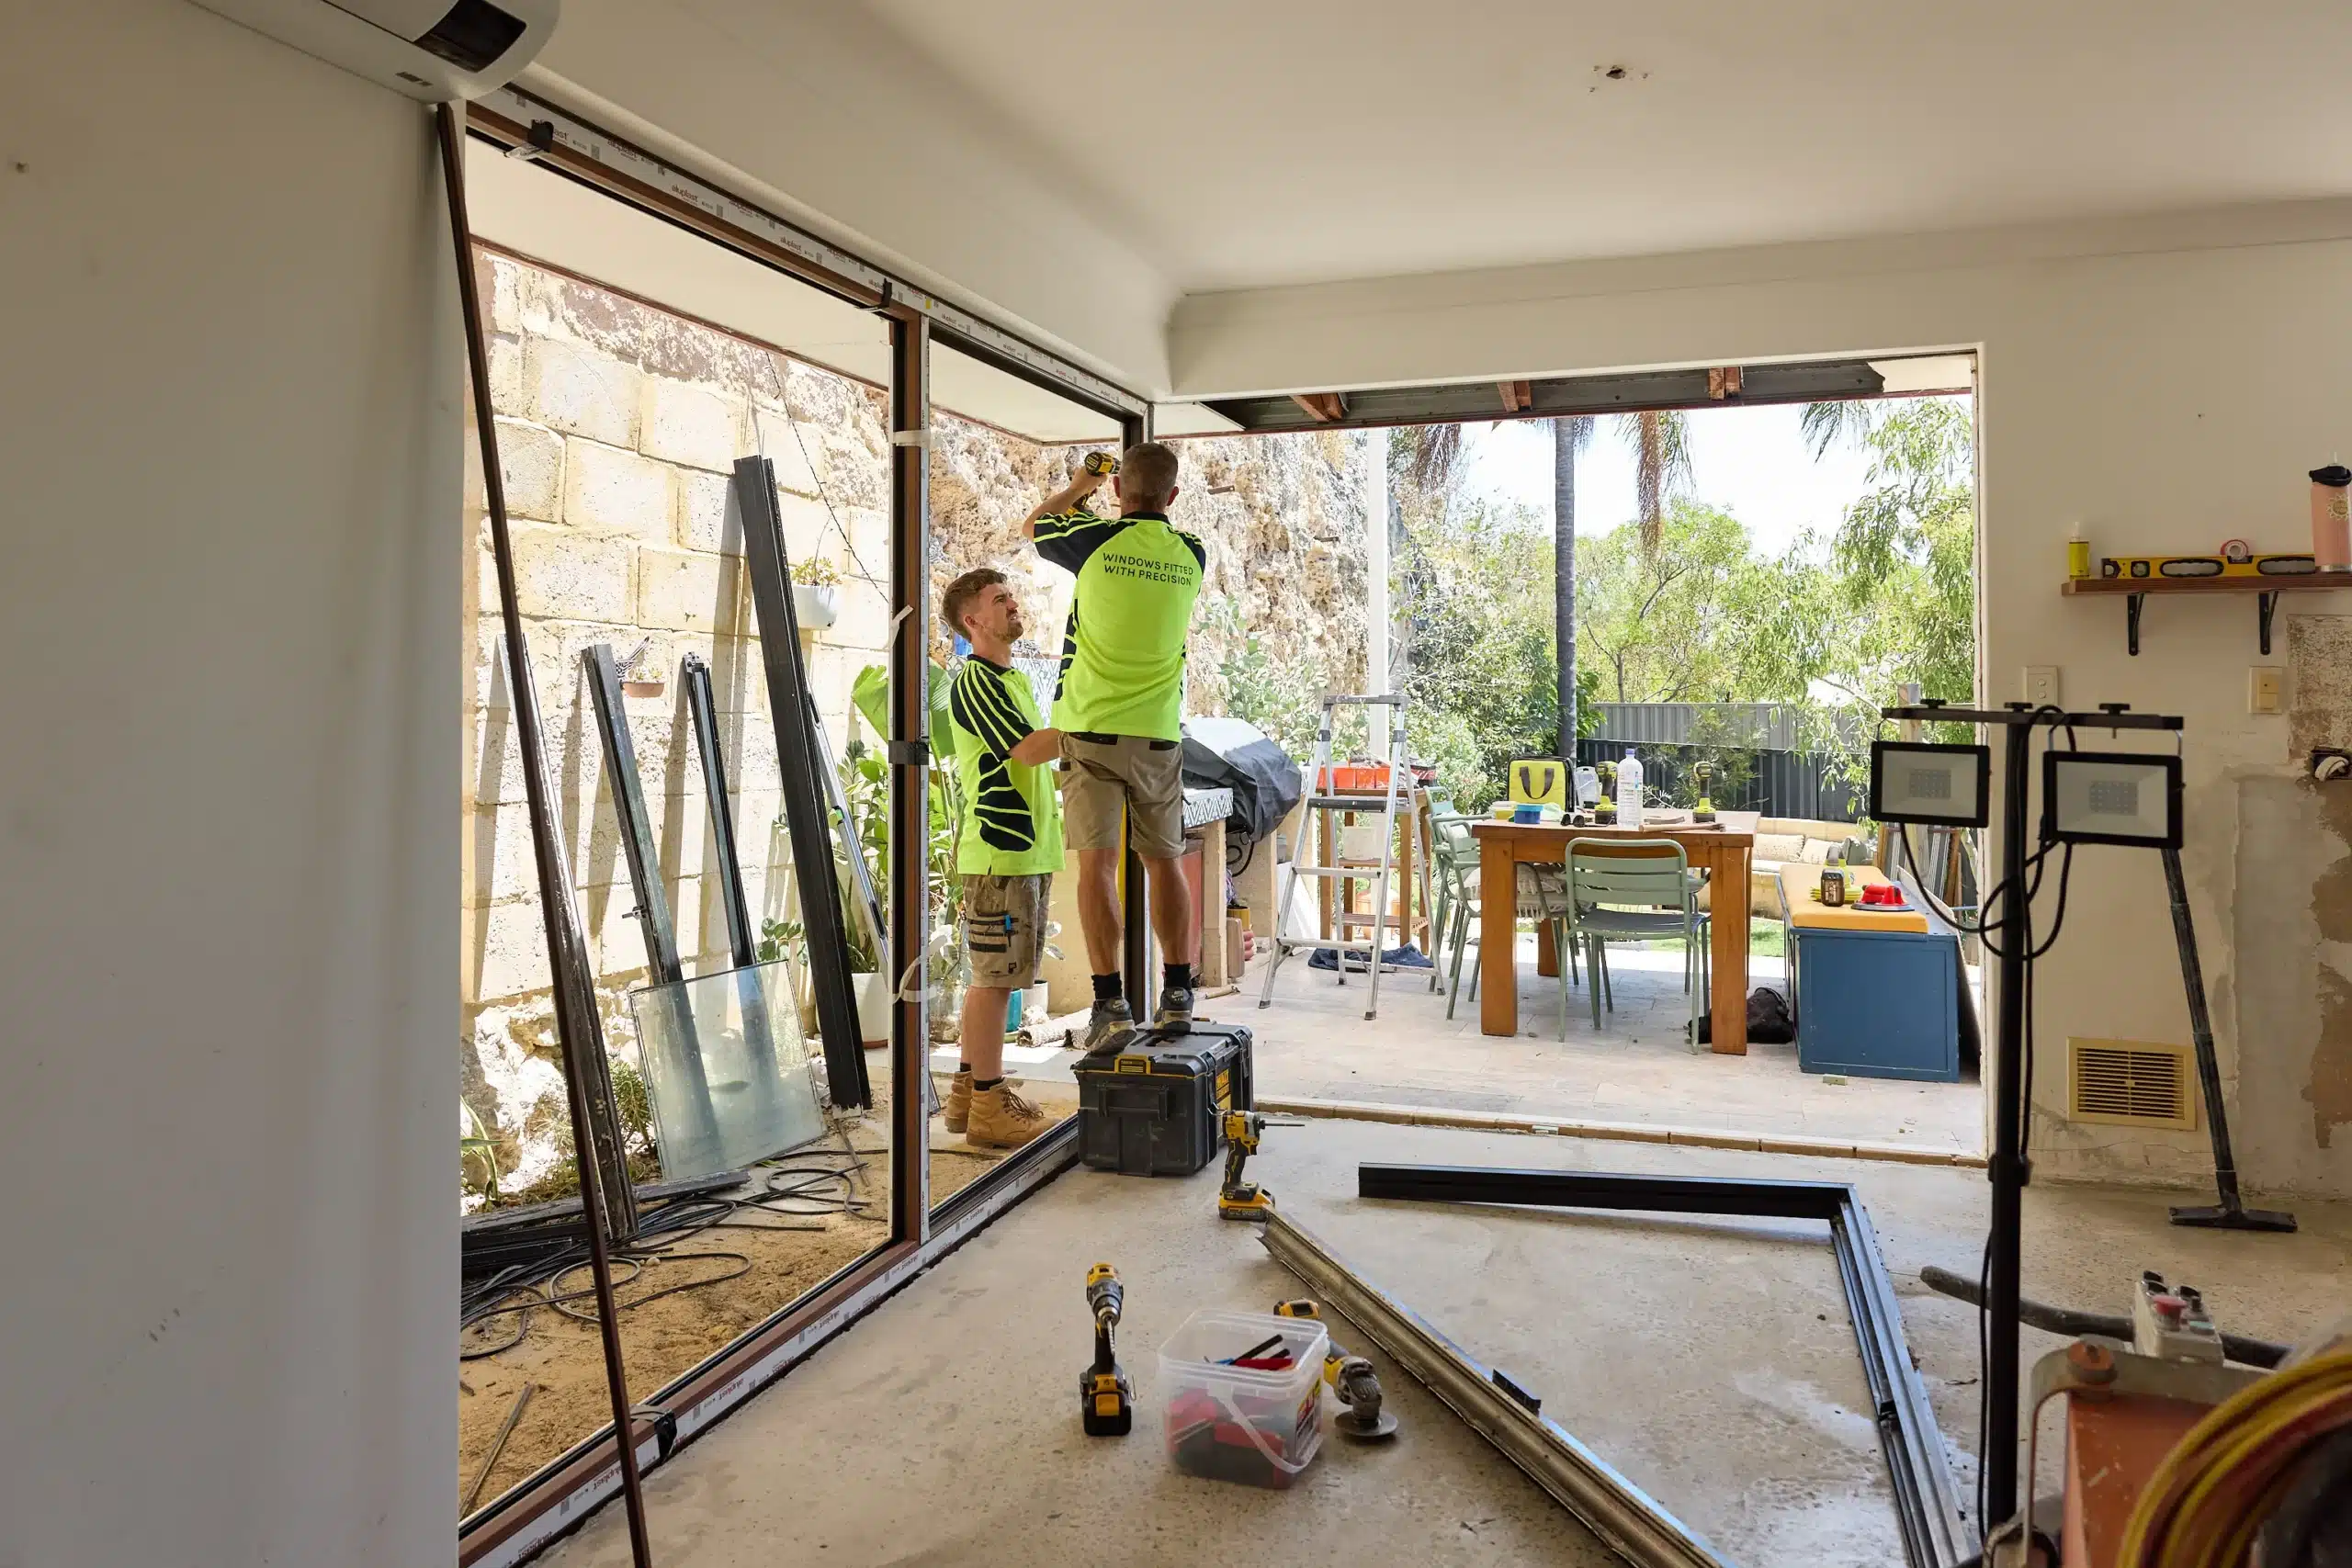
The window is set into the opening against the structural frame and packed level, plumb and square – to within roughly 2mm over the length of the frame so the double-glazed sashes seal evenly. It is then secured back to the studwork (timber or steel), never face-fixed through the brick. Where direct screw-fixing isn’t practical, galvanised building lugs or brackets are used at the same spacing.
- Fix to the structural frame with adequately coated or stainless steel screws, or galvanised brackets.
- Space fixings no more than 600mm apart, and within 200mm of each corner, with extra fixings 150mm either side of any mullion.
- Pack behind every fixing point with hardened plastic packers to maintain the expansion gap and prevent the frame distorting.
- Never fix through the bottom of the frame in a brick wall – doing so opens a path for water into the frame reinforcing and the cavity.
Allowance for movement matters in brick veneer: the surrounding brickwork should sit clear of the frame – in the order of 10mm at the sill and 12mm at the head – so the masonry can settle without loading the window. Windows are never load-bearing, so the weight of lintels, arch bars or eaves must not bear on the frame.
Is a “chock” system enough on its own?
No. Chocks – the packers or wedges used to set the frame – are essential for keeping the window square, holding the expansion gap and fully supporting the sill, but they are not a fixing. A frame that is only wedged into the opening has nothing to resist wind suction and can work loose over time.
Under AS 2047, a window must withstand both positive and negative (suction) wind pressure, so it has to be mechanically fixed to the structure as well as packed – screwed to the timber or steel frame, or fixed with galvanised lugs or masonry plugs. Chocks plus proper fixings is compliant; chocks alone is not, and it can void the window’s rated and warranted performance. Required fixing spacing also increases on exposed and coastal WA sites with a higher wind classification.
Flashing and weatherproofing the cavity
Because the cavity sits behind the brick, managing water is critical. A head flashing is mandatory above the window, taken into or one course above the lintel and dressed to direct any moisture out of the cavity. Weep holes in the brickwork over the opening should be spaced no more than 1200mm apart so water that enters the cavity can escape rather than pool on the frame.
The perimeter gap between the Premier frame and the structural opening is then sealed for air- and water-tightness. Best practice – and the key to keeping the rated energy performance – is a thermally insulating seal using expandable foam tape or a flexible membrane with insulating foam, rather than relying on a bead of silicone alone.
What this means for WERS energy ratings
The Window Energy Rating Scheme (WERS), administered by the Australian Glass & Window Association, rates windows for their heating and cooling performance. Those ratings only translate into real-world comfort and energy savings if the window is installed to maintain a continuous, airtight thermal seal. A high-performing Premier double-glazed unit fitted with gaps and air leaks will underperform its label.
Installing to WERS-aligned, industry best practice – square and plumb, fixed to the frame, properly flashed, and sealed with insulating foam – is what lets a brick veneer home in Perth enjoy the full benefit: warmer winters, cooler summers, less condensation, and quieter rooms.